

Cable MIDI MIDI is more than just a cord – it’s the digital communication lifeline of your music gear. MIDI (Musical Instrument Digital Interface) cables carry data – like note pitches, timing and control signals – between instruments and computers, rather than audio. In practice, this means a midi cable (often a 5-pin DIN connector) can link a keyboard to a synth module, while a USB MIDI cable plugs a controller directly into your computer. Understanding cable midi midi is essential for any musician or audio engineer: from classic synth rigs to modern home studios, the right MIDI connection keeps your instruments in sync.
In this comprehensive guide, we’ll explain what MIDI cables are, how they work, and how to choose the best cable for your setup. We cover classic MIDI-to-MIDI cables and modern USB MIDI cables, including specialized converters (like Korg’s Type A/B TRS adapters and the B.Beat MIDI cable). We’ll include practical tips, example setups, and FAQs with expert sources, so you can confidently connect your keyboard, synth, and DAW.
What Is MIDI and How Do MIDI Cables Work?
MIDI stands for Musical Instrument Digital Interface, a standardized protocol introduced in 1983. Instead of transmitting sound, MIDI sends digital instructions – note numbers, velocity, control changes – between devices. For example, pressing a key on a MIDI keyboard sends a message (“Middle C, velocity 100”) through the cable to a sound module, which then generates the actual audio tone.
Using MIDI, a single controller can drive many instruments. The MIDI standard allows one cable to carry 16 channels of independent data. This means you can route one keyboard to multiple modules or layers. Importantly, MIDI cables do not carry audio; they carry commands. Audio and MIDI are separate: you still need audio cables or interfaces to hear sound, while MIDI cables simply tell devices what and when to play.
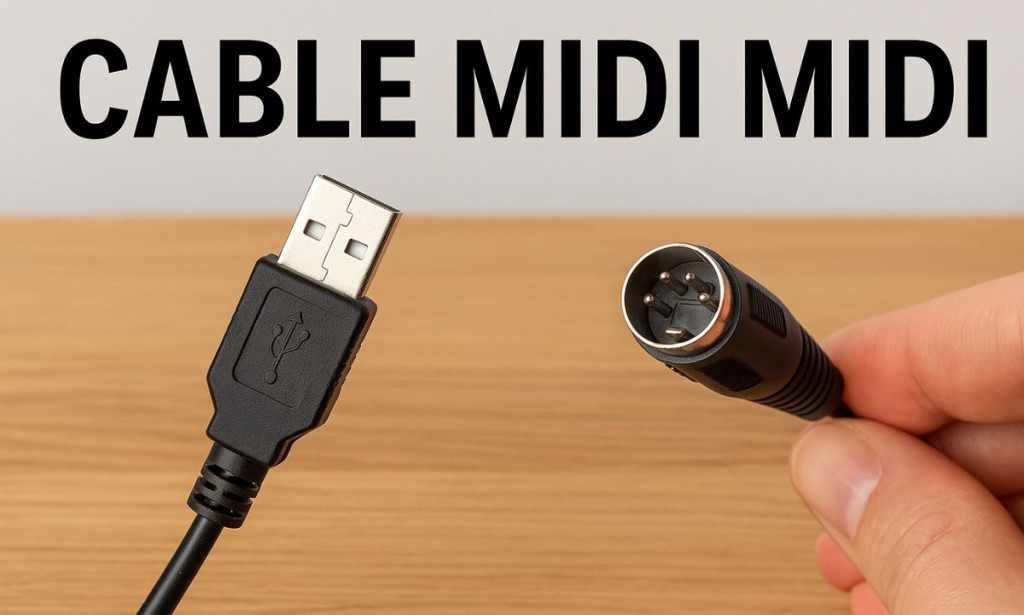
Image: A hand holding a standard 5-pin DIN MIDI cable connector (used to connect keyboards, synths, and sound modules)
Because MIDI is just data, latency and reliability matter. A high-quality cable preserves data integrity and minimizes delay. The classic 5-pin DIN MIDI cable transmits at 31,250 baud (about 31.25 kbps). It’s a relatively slow link by modern standards (USB, for example, is much faster), but it’s sufficient for most music control tasks. One advantage: traditional MIDI DIN cables can directly connect two instruments without a computer, something USB alone cannot do.
Types of MIDI Cables and Connectors
There are several cable types and connectors used for MIDI. The main ones are:
-
5-pin DIN MIDI Cable (MIDI-to-MIDI): The original MIDI cable, with a round 5-pin DIN connector on each end. This “midi to midi cable” is used to connect the MIDI OUT of one device (keyboard, synth, etc.) to the MIDI IN of another. It works reliably up to about 50 feet (15 meters). Many pro keyboards and vintage gear still use this standard cable. One MIDI DIN cable carries up to 16 separate MIDI channels.
-
USB MIDI Cable: Also called a USB to MIDI cable or MIDI to USB cable, this cable has a USB Type-A or Type-C connector on one end and a MIDI DIN connector on the other, or it may have a USB on both ends (USB-A/B or USB-C) with a small interface box. It lets you plug a MIDI device directly into a computer’s USB port. USB MIDI is plug-and-play on modern systems, and it usually works without extra drivers (class-compliant). This is the common cable for modern keyboards and controllers that lack traditional MIDI ports.
-
MIDI Interface Cables: These are usually part of a USB MIDI interface box with multiple IN/OUT ports. For example, a 2-in/2-out USB MIDI interface uses individual DIN cables to connect multiple instruments and a single USB cable to connect to the PC. In essence, a USB MIDI interface cable refers to the USB end that connects the interface box to the computer.
-
TRS (3.5mm) MIDI Cables (Type A or B): Some compact gear (e.g. certain Korg, Akai, or Novation devices) use tiny 3.5mm TRS jacks for MIDI instead of DIN. There are two wiring standards: Type A and Type B. If you have a keyboard with a mini-MIDI (TRS) port, you need the correct adapter cable (Korg, for instance, sells a “MIDI conversion cable Type A or B” for this purpose). The M-Live B.Beat MIDI Cable is an example: it converts a TRS Type-B jack into a 5-pin DIN socket for MIDI OUT. (If in doubt, check your gear’s manual for TRS MIDI standard.)
-
Wireless MIDI (Bluetooth/WiFi): Not a physical cable, but worth noting. Modern solutions like BLE MIDI adapters or apps can send MIDI wirelessly. For example, the CME WIDI Master creates a “virtual MIDI cable” over Bluetooth. Wireless MIDI is convenient for some setups but can introduce latency, so wired cables (USB or DIN) remain preferred for studio and live reliability.
5-Pin DIN MIDI Cable (Classic MIDI Cable)
The 5-pin DIN cable – often just called a MIDI cable – has been around since the 1980s. It has five metal pins (180° connectors) and is keyed to plug only one way. This cable type was developed in 1983 and, despite its age, is still widely used for legacy gear. The MIDI.org site notes that while its data rate is “slow compared to USB”, the DIN cable adequately handles communication for one device.
When using DIN cables, match MIDI OUT to MIDI IN. For example, to connect a keyboard to a sound module, run a DIN cable from the keyboard’s MIDI OUT jack into the module’s MIDI IN jack. If you want two-way communication, you’d typically use two cables (keyboard OUT → module IN, and module OUT → keyboard IN) or use a multi-port interface. Always secure the cable plugs fully to avoid data loss.
USB MIDI Cable and Adapters
USB has become very common for MIDI. A USB MIDI cable usually has a USB Type-A or Type-C connector on one end (for the computer) and either a MIDI DIN end or connects to a USB-MIDI adapter box. Modern keyboards often have a built-in USB port, in which case you just use a standard USB cable (USB A to B or A to C) to the PC – this effectively carries MIDI data. Some older gear requires a special MIDI-to-USB cable (with a small interface) that plugs into the MIDI jacks.
The USB approach has advantages: plug-and-play installation on PCs and Macs, and for multi-channel MIDI it’s often simpler. For example, you might use a USB MIDI interface cable to connect a 4-in/4-out MIDI interface box to your computer. That USB cable is essentially carrying all MIDI streams at once.
One caveat: MIDI.org points out that USB MIDI devices must connect to a host (like a PC), so you can’t directly chain two USB-MIDI devices together like you can with two DIN devices. In other words, a USB-MIDI connection usually involves the computer as host. However, many MIDI interfaces allow multiple inputs and route the data through one USB link.
Choosing the Right MIDI Cable
With so many options, how do you pick? Here are some key considerations:
-
Compatibility: Check your gear’s ports. If your keyboard has a 5-pin MIDI OUT, use a standard DIN MIDI cable. If it has a mini (3.5 mm) MIDI jack, get the correct TRS adapter (Type A or B). If your controller only has USB, use a USB MIDI cable to your computer. For example, Korg’s recent microKORG uses TRS Type-B output, requiring a Type-B mini-to-DIN cable.
-
Cable Quality and Build: Good cables have sturdy connectors (often gold-plated) and proper shielding. Poor cables can cause data errors (dropped notes or glitches). As one home studio engineer noted, switching from cheap cables to a quality USB-MIDI cable “cut my latency in half”. Look for cables with solid strain relief and a snug fit. Longer cables should be well-shielded.
-
Length: MIDI DIN cables work up to about 50 ft (15 m). For home studios, 10–20 ft is usually ample. Keep them as short as needed to avoid unnecessary latency or interference. (Remember, “longer isn’t always better” – very long cables can degrade the signal if not high-quality.)
-
Connector Type: Ensure you have male-to-male or male-to-female as required. Most MIDI cables are male-male (for connecting OUT-to-IN). Beware that USB cables come in various plug types (A, B, C, mini) – match them to your device and PC. A “USB A to MIDI cable” usually means one end is a USB-A (computer side) and the other is a MIDI connector.
-
Brand/Model: Some brands specialize in MIDI cables. For example, the blog’s quick picks include Roland, Monoprice, and Hosa. High-end cables may claim better noise reduction. However, even an affordable well-made cable will work fine. The key is reliability – you don’t want your cable quitting in the middle of a take.
-
Special Cases: For PCs/laptops, use a USB 2.0 to MIDI cable if needed (the USB part is usually USB 2.0 spec). If you have a modern Mac or phone/tablet, you might need a USB-C to MIDI adapter. Some cables are labeled “USB MIDI interface cable” meaning they contain a small converter chip (common with cheap “$10 MIDI to USB” cables). Always check if the cable is class-compliant (no driver needed) or if it requires a driver.
In short, use midi cable midi that matches your device ports. If in doubt, take a photo of the port or consult the manual. For example, the B.Beat MIDI Cable converts a TRS Type-B jack to standard MIDI OUT – a handy reference for those uncommon mini jacks.
How to Connect MIDI Cables (Step-by-Step)
Connecting MIDI gear is straightforward once you know which ports to use. Here’s a typical procedure for a keyboard → computer setup, using a MIDI-to-USB cable or interface:
-
Identify Ports: Look at your keyboard or controller. Find the MIDI OUT port (5-pin round) and the USB port (if present). On your computer or interface box, find the MIDI IN port or USB input.
-
Use the Correct Cable:
-
If connecting keyboard to computer via a MIDI interface: plug a 5-pin DIN MIDI OUT (keyboard) into MIDI IN (interface). Then connect the interface’s USB cable (USB A/B) to your computer.
-
If using a USB MIDI cable (no separate interface): plug the MIDI DIN end into the keyboard’s MIDI OUT, and the USB end into the computer’s USB port. Some cables have 2 MIDI jacks (for IN and OUT); use only the OUT jack unless you want keyboard receive.
-
If using a USB-native keyboard: just plug a USB cable between the keyboard’s USB port and the computer (it will carry MIDI data internally).
-
-
Power On Devices: Turn on your keyboard, synth, and computer. Often MIDI connections are hot-swappable, but powering devices first can avoid “thumps”.
-
Software Setup: Open your DAW or MIDI software. Select the correct MIDI input device (your USB-MIDI cable or interface). In many DAWs this is automatic, but check your MIDI settings.
-
Test the Connection: Play a note on the keyboard. You should see a MIDI activity indicator light on your interface or on-screen in your software. If nothing happens, double-check that MIDI OUT → IN (not out-to-out). Also make sure your keyboard’s local control settings aren’t preventing MIDI output.
-
Troubleshoot: If the cable isn’t recognized, try another USB port or cable (some USB cables are power-only). Make sure any required drivers are installed (most modern cables/interfaces are driverless). If using two 5-pin cables (for 2-way), ensure the other cable goes from MIDI IN of keyboard to MIDI OUT of synth, and vice versa, for full bi-directional MIDI.
This simple flow (MIDI OUT → MIDI IN) applies to keyboards, sound modules, drum machines, etc. For example, to chain a drum machine to a computer: Drum Machine OUT → MIDI IN on interface (or computer with USB adapter) and configure your recording software to use that input.
Top Uses for Cable MIDI MIDI
MIDI cables are used anywhere digital instruments and computers meet. Key use cases include:
-
Home Studio Production: Producers plug MIDI keyboards into computers to control virtual instruments (VSTs). A simple MIDI-to-USB cable lets software instruments “hear” your playing. Since MIDI data is small, this adds almost no CPU load. Many DAWs (Ableton, Logic, FL Studio) even show MIDI inputs for visual feedback.
-
Recording Hardware Synths: Recordists often sequence external synths via DAW. They send MIDI tracks from the computer to the synth’s MIDI IN (via a USB MIDI interface cable) and record the audio back through an audio interface. This keeps synth patches in sync with song tempo.
-
Live Performance: Bands and DJs use MIDI cables to sync drum machines, sequencers, and lighting rigs. For example, an MC (MIDI Clock) cable from a laptop to a hardware drum machine ensures both run at the same BPM. With MIDI, tempo changes and song transitions can be automated across devices.
-
Composing and Arranging: Orchestral composers use MIDI keyboards to trigger large sample libraries. Each MIDI channel can control a different instrument. A single MIDI cable can carry multiple instrument lines to a sampler rack. As one engineer noted, a single “MIDI à USB” setup makes layering music fluid.
-
Theater and Lighting Control: MIDI isn’t just for audio. Stage lights and show controllers often accept MIDI commands. A lighting technician might trigger light cues from a keyboard via a USB MIDI cable.
-
Educational and DIY Projects: Students learn MIDI by connecting old keyboards to modern laptops. Hobbyists build DIY synths that output MIDI. In tech education, demonstrating MIDI over various cables is common.
According to industry sources, MIDI remains ubiquitous: even vintage synths rely on it. It’s estimated that over half of all electronic music setups still use MIDI for timing and control, because it’s reliable and lightweight.
FAQ (Frequently Asked Questions)
Q1: What exactly does a MIDI cable do?
A MIDI cable transmits digital musical information (notes, velocities, control signals) between devices. It doesn’t carry audio. Think of it as a data highway for performance instructions. For example, it tells a synth when and how hard you press a key, rather than sending the actual sound.
Q2: What’s the difference between a MIDI cable and a USB cable?
A “MIDI cable” usually means the 5-pin DIN cable, while a “USB cable” (USB MIDI cable) plugs into a computer. Both can carry MIDI data, but the connectors differ. Standard MIDI DIN cables connect MIDI ports on gear, whereas USB cables connect to USB ports on computers. In terms of protocol, MIDI-over-USB is faster and class-compliant on most modern systems.
Q3: Can I chain MIDI devices with one cable?
No – MIDI DIN cables carry data one-way. You connect MIDI OUT on one device to MIDI IN on the next. To go back, you need a second cable (from OUT back to the other device’s IN). However, you can use a MIDI THRU port (present on some keyboards/synths) to daisy-chain multiple devices in sequence. Each device passes the same MIDI signal out through its THRU.
Q4: My setup only has USB ports. What cable do I need?
You need a USB MIDI cable or interface. Most modern keyboards/controllers output MIDI via USB natively. Simply use a USB A-to-B or A-to-C cable. If you only have an old 5-pin MIDI OUT and no USB, get a MIDI-to-USB interface (a short cable or box). For mobile devices, use a USB-C adapter or Lightning adapter as needed.
Q5: What is the Aiguille du Midi cable car?
This is unrelated to music gear. “Aiguille du Midi” is actually a mountain peak in the French Alps, accessible by a famous cable car. Despite the similar name, it has nothing to do with MIDI technology.
Q6: How do I choose between Type A and Type B MIDI cables for Korg gear?
Some Korg (and other) devices with a 3.5 mm MIDI jack require a specific wiring: Type A or Type B. The cable or adapter should specify which it is. For example, Korg’s microKEY uses Type-B, and their manuals will say “use Type-B cable.” If you use the wrong one, MIDI won’t work. Refer to the gear’s documentation, or try one – if notes play in reverse or fail, switch cable ends (flipping a TRS plug physically can reverse A/B).
Conclusion
Whether you’re connecting vintage synths or modern controllers, cable midi midi is the critical link in your signal chain. You now know that MIDI cables (5-pin, USB, TRS) carry only data, not audio, and that choosing the right type (DIN vs USB vs TRS) depends on your devices. Quality matters too – a good MIDI cable ensures your notes transmit error-free.
Remember to double-check connector types (DIN or USB), match OUT to IN, and use shielded cables for longer runs. If you follow these guidelines and the steps above, you’ll have a rock-solid setup for your studio or live rig. Have questions or tips about MIDI cables? Drop a comment below – we’d love to hear how you use cable midi midi in your music! And if this guide helped, share it on social and subscribe for more pro audio tips.
READ PREVIOUS POST:

You must be logged in to post a comment.